 BULLSTAR
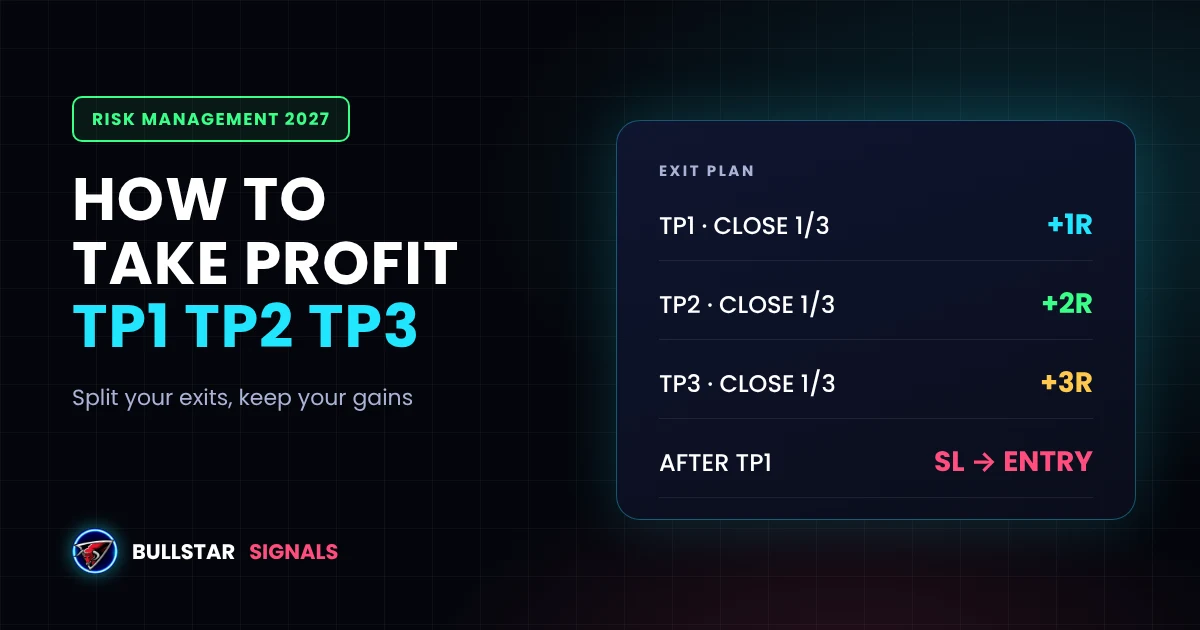
Most traders spend hours looking for the perfect entry and almost no time planning the exit. Then the trade goes their way, they hesitate, and the profit disappears. Taking profit is a skill on its own, and for most people it is the part that decides whether a good trade ends green or red.
This guide explains how to take profit in crypto with multiple targets (TP1, TP2, TP3), how much to close at each one, when to move your stop loss to entry, and where to place the targets. There is a free take profit calculator below so you can plan the numbers before you enter.
- Don't exit all at once: close part of the position at each target, for example one third at TP1, TP2 and TP3.
- Protect the trade: after TP1 or TP2 is hit, move your stop loss to the entry price so the rest can't turn into a loss.
- Place targets on real levels: resistance, previous highs, Fibonacci extensions, or fixed multiples of your risk (1R, 2R, 3R).
- Decide before you enter: targets set in the heat of the trade are usually driven by fear or greed.
Why Taking Profit Is So Hard
When a trade is in profit, two feelings fight each other. Fear tells you to close now before it comes back. Greed tells you to hold because it could go much higher. Without a plan, one of them wins, and usually at the wrong moment.
- Closing too early: you grab a small gain and then watch price run to where your real target should have been.
- Holding too long: you refuse to take anything, price turns, and a nice profit becomes a loss.
- Moving the target: price gets close, you move the target higher, and the market never reaches it.
Multiple take profit levels solve most of this. You don't have to be right about the top. You take some profit early, some in the middle and leave a piece for the bigger move.
What Are TP1, TP2 and TP3?
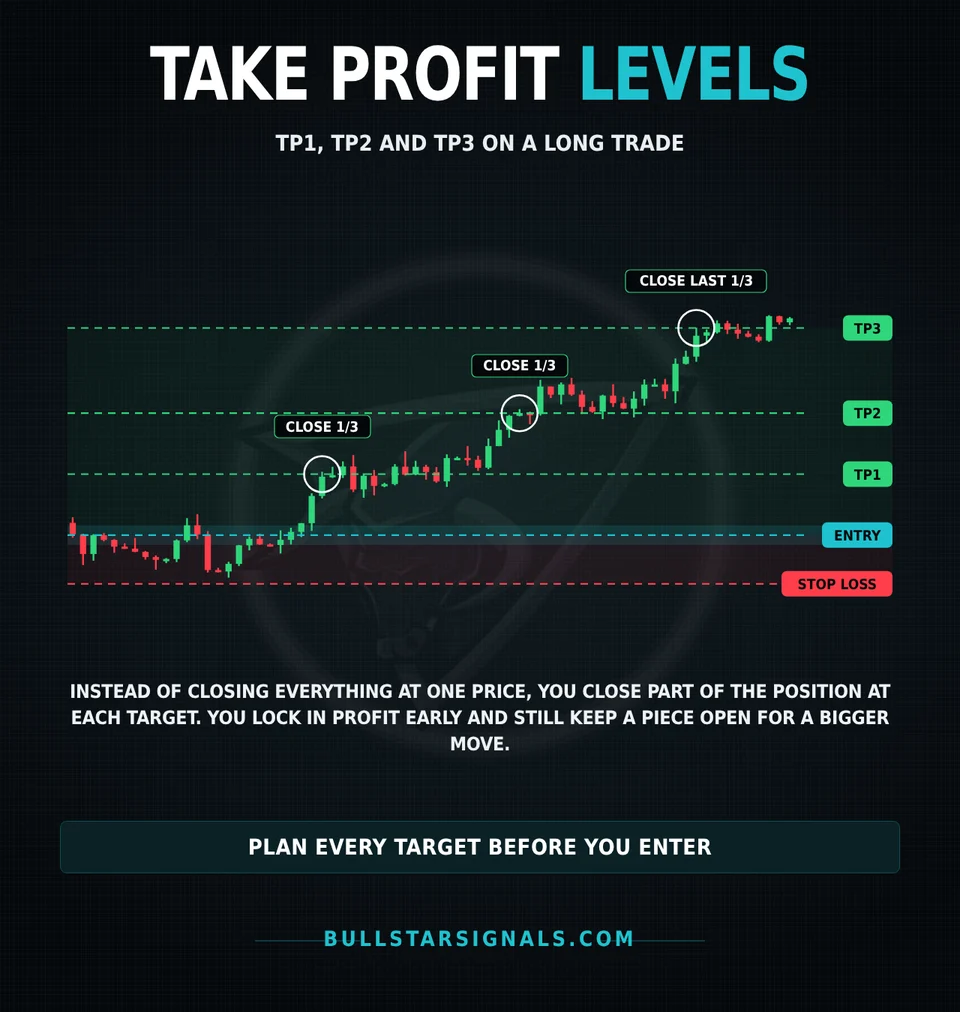
TP stands for take profit. TP1, TP2 and TP3 are price levels where you close part of your position:
- TP1: the closest target. It gets hit most often and locks in the first profit.
- TP2: the middle target, usually at the next clear level on the chart.
- TP3: the furthest target, for when the move really runs. It gets hit less often, but pays the most.
Some traders and signal services use four or more targets. The idea is the same: scale out step by step instead of betting the whole position on one exit price.
How Much to Close at Each Target
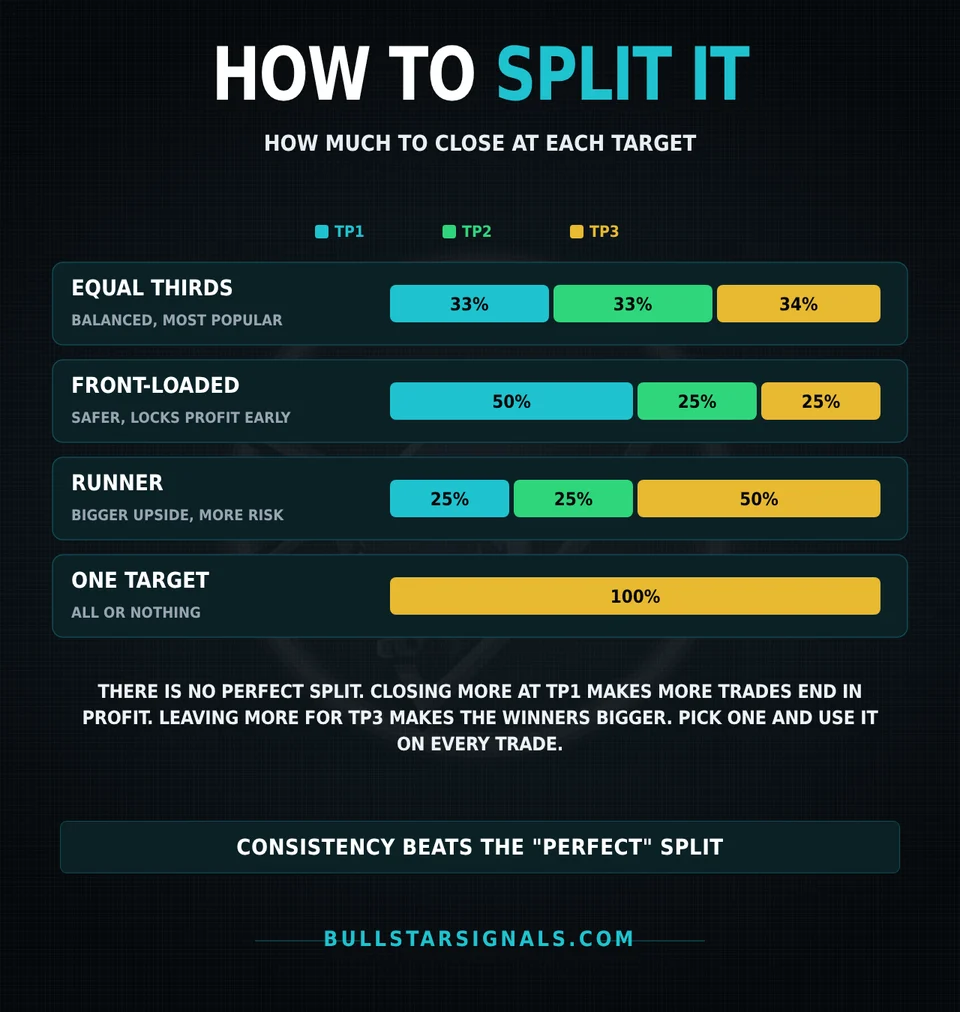
There is no perfect split. Each one is a trade-off between how often you finish in profit and how big your winners are.
| Split | TP1 / TP2 / TP3 | Good for |
|---|---|---|
| Equal thirds | 33% / 33% / 34% | Most traders, a balanced default |
| Front-loaded | 50% / 25% / 25% | Beginners, high leverage, choppy markets |
| Runner | 25% / 25% / 50% | Strong trends and breakouts |
| One target | 100% at one price | Scalps and very short trades |
If you are not sure, start with equal thirds. What matters more than the exact split is using the same one on every trade, so your results are consistent and you can judge them honestly.
Move Your Stop Loss to Entry
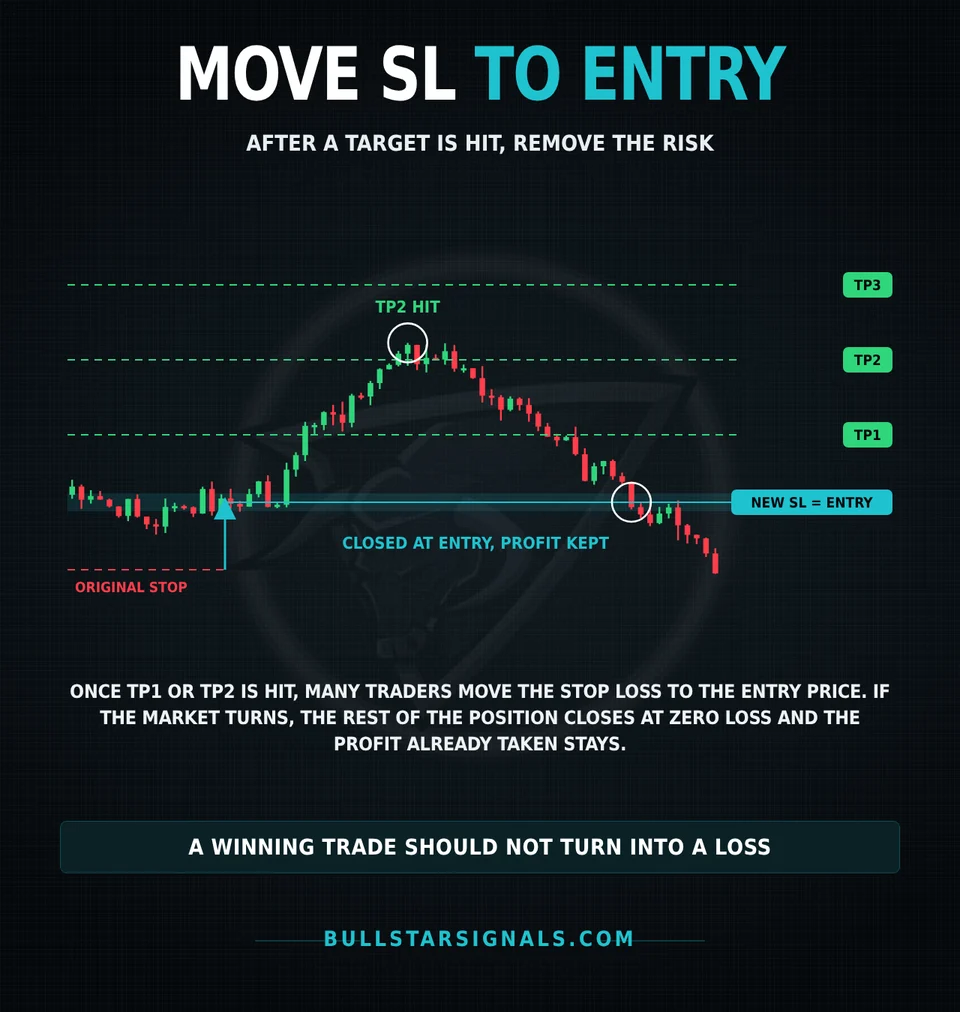
This is the step that turns partial take profits into real protection. Once a target is hit, you move the stop loss from its original level to your entry price. If the market turns around, the rest of the position closes at zero loss and the profit you already took stays in your account.
- After TP1: the safest option. Very few trades end in a loss once TP1 is hit, but more trades get stopped out at entry before reaching TP2.
- After TP2: gives the trade more room to breathe. You accept the risk that TP1 then a reversal ends in a small loss.
Our recommended Cornix setting for Bullstar signals moves the stop to entry after TP2, and it has been that way since we started. Whichever you choose, set it up in your bot or on the exchange so it happens automatically, not when you remember to check the chart.
One Target vs Split Targets: The Numbers
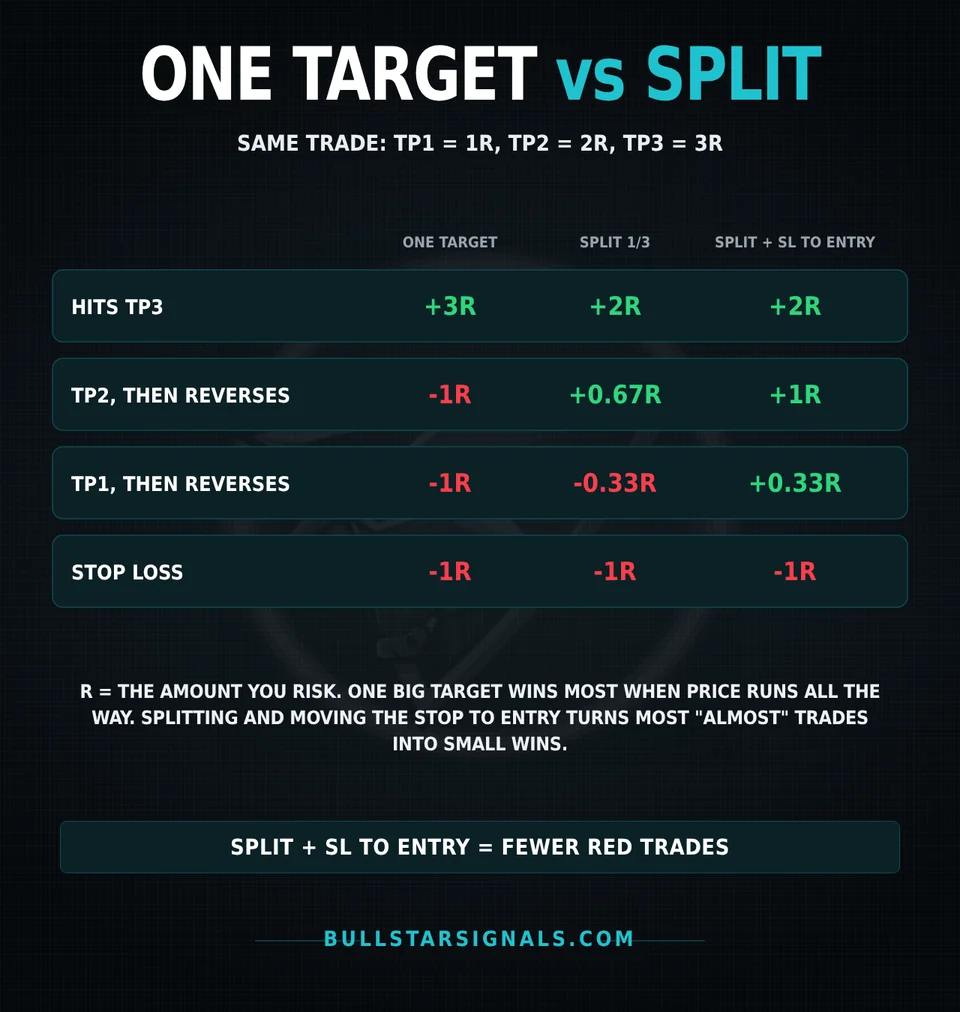
Take a trade where TP1 is 1R, TP2 is 2R and TP3 is 3R (R is the amount you risk). Here is how the same trade ends with each approach:
| What price does | One target (TP3) | Split 1/3 each | Split + SL to entry after TP1 |
|---|---|---|---|
| Hits TP3 | +3R | +2R | +2R |
| TP2, then reverses | -1R | +0.67R | +1R |
| TP1, then reverses | -1R | -0.33R | +0.33R |
| Stop loss first | -1R | -1R | -1R |
One big target makes the most money when price runs all the way, and loses on every trade that almost gets there. Splitting gives up some of the best case, but turns most "almost" trades into small wins. Over dozens of trades, that usually means a smoother account and far less stress.
Free Take Profit Calculator
Enter your trade to see the profit at each target, your risk-to-reward, and how the trade ends in each scenario.
Where to Place Your Take Profit Targets
A target should sit where price is likely to slow down or turn, not at a random round number. These are the most common ways to choose them:
1. Support and resistance
For a long, place targets just below the next resistance levels. For a short, just above the next supports. Setting the target a little before the level matters, because price often turns before it touches the exact line.
2. Previous highs and lows
Old swing highs and lows are where many traders have orders waiting. They are natural places for TP1 and TP2, especially on the 4H and daily charts.
3. Fibonacci extensions
When price breaks out to new highs and there is no resistance above, the 1.272 and 1.618 Fibonacci extensions give you objective targets for TP2 and TP3.
4. Multiples of your risk
The simplest method: if your stop is 2% away, put TP1 at 2% (1R), TP2 at 4% (2R) and TP3 at 6% (3R). Then check the chart and adjust each target to the nearest real level. A target that falls right behind a big resistance is unlikely to get hit.
5. Trailing stop for the last part
Instead of a fixed TP3, some traders trail the last part with a stop under each new higher low, or under a moving average. It lets a strong trend run as far as it wants, at the cost of giving back some profit when it finally ends.
Common Take Profit Mistakes
- No target at all. "I'll see how it goes" usually ends with closing in a panic.
- Targets closer than the stop on every trade. If you risk 5% to make 1%, you need to win almost every time just to break even. Size your trades with a position size calculator and keep the reward worth the risk.
- Moving the target further away. If your plan was good when you entered, trust it. Changing targets mid-trade is almost always emotional.
- Never moving the stop. Letting a trade that already hit TP1 or TP2 go back to the full stop loss throws away the work.
- Ignoring leverage. With high leverage, a small move against you can take you out before your stop. Learn how liquidation works before you plan targets on futures.
How Bullstar Signals Handle Take Profit
Every Bullstar signal comes with an entry zone, a stop loss and several take profit targets, so the exit plan is ready before you open the trade. Many members connect the signals to Cornix, which closes part of the position at each target and moves the stop loss to entry after TP2 automatically.
We also record how far every VIP signal went, from a stop loss to all targets hit, and publish it on our results page, losses included. If you want to see how the targets play out in real trades, follow the free Telegram channel and watch a few setups live before you decide anything.
Not financial advice. Crypto trading, especially with leverage, carries high risk.